How to Install and Configure GeyserMC and Floodgate
GeyserMC allows Minecraft Bedrock Edition players to connect to Java Edition servers. For its part, Floodgate removes the need for a premium Java account for Bedrock players, facilitating cross-platform integration.
Step 1: Download and Upload the Plugins
- Download GeyserMC and Floodgate from their official websites.
Platform Download Link Spigot/Paper Velocity Fabric NeoForge - Access your server panel: https://panel.xerohost.net.
- Go to the **Files** section and navigate to the plugins folder.
- Upload the GeyserMC and Floodgate
.jarfiles. - Restart the server for the plugins to install correctly.
Step 2: Create a New Port for Bedrock
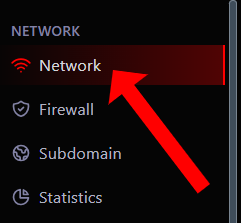
- On your server panel, go to the Network section.
- Select Create Allocation to add a new port.

- Copy this new port; you will need it for the configuration.
Step 3: Configure GeyserMC
- Return to **Files** and find the Geyser configuration folder:
plugins/geyser-spigot. - Open and edit the config.yml file.
- Find the
bedrock:section and change the port value to the one you just created.bedrock: port: 19132 # Change this value to your new server port - Adjust the
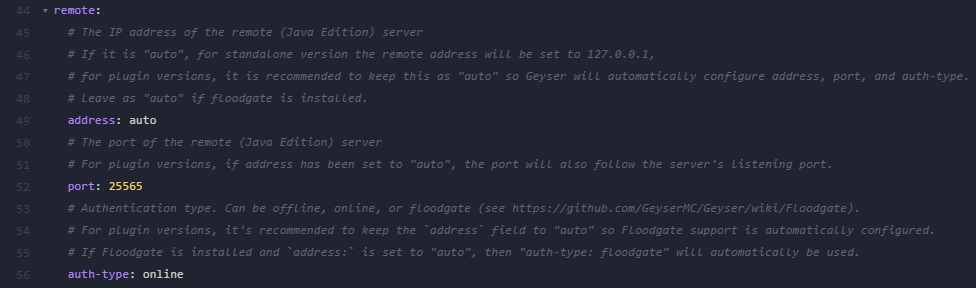
remote:section for the connection to your Java server.remote: port: 25565 # Change this value to your new Java server port
auth-type: online # Change this field to "floodgate"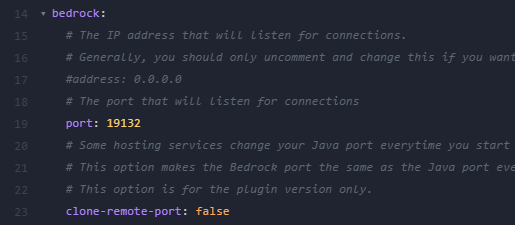
- Save the changes and restart the server.
Important Notes
- Performance: Make sure your server has the necessary resources for players from both platforms.
- Compatibility: Keep in mind that some game mechanics may differ between Bedrock and Java.


