How to Change the Server Seed
Changing your server's Seed allows you to generate a completely new world or one with specific features. This tutorial will guide you through the process to do it easily.
Step 1: Access your server's control panel
- Log in to the XeroHost control panel: https://panel.xerohost.net
- Select the Minecraft server you want to configure.
Step 2: Create a backup and stop the server
Important: Changing the Seed will generate a new world. If you want to keep your current world, you must create a backup.
- Go to the Backups section in the side menu.
- Click on Create Backup and then Start backup and wait for the process to finish.
- When the backup is complete, stop your server.
- Go to the Console tab and click the Stop button.
Step 3: Delete the old world files
For the server to generate a new world with the new Seed, you must delete the existing world.
- Go to the Files section.
- Select the following folders and files, and then click Delete:
worldworld_netherworld_the_end
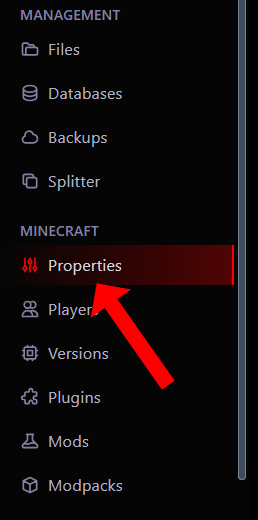
Step 4: Change the Seed in the server properties
- In the left menu, go to the Properties section.
- Find the box named level-seed.
- In this field, you can type a new Seed. If you leave the field empty, a random Seed will be generated.

- Once you have entered the Seed, click on Save to save the changes.
Step 5: Start the server
And that's it! Now, when you start your server, a completely new world will be generated with the Seed you chose.
- Go to the Console tab and click on Start.
- Wait for the server to start and generate the new world.
Important notes
-
New World: All buildings, items, and player progress will be lost unless you have saved a backup.
-
Errors: If the server does not start correctly, check that you have deleted all the old world files and that the Seed does not contain special characters.


